
Last updated September 20, 2026
Free on-site gate assessment - hinges, posts, and your LiftMaster or Nice gate operator checked before anything is quoted
The assessment is free and the quote is the invoice.



 Before
 After
After Before
 After
After Before
 After
AfterDIY vs Professional Gate Repair: The Spring Homeowner’s Decision Guide
Most Spring homeowners think the DIY-versus-professional decision comes down to mechanical skill. It doesn’t. The real dividing line is liability. UL 325, the federal entrapment protection standard that governs automated gates, has no homeowner exemption. If you adjust your gate’s force settings without restoring compliant entrapment protection, you are liable for any resulting injury, regardless of who installed the gate originally. This guide maps the decision the way a careful technician would: by risk category, not by difficulty. You’ll learn which five tasks are genuinely safe, which three carry exposure you probably haven’t considered, and how to tell whether your operator uses a screwdriver-adjustable limit switch or a proprietary digital encoder that locks you out entirely. We’re writing this from Spring, where humidity, shifting clay soil, and storm-driven power surges create gate failures that no generic online tutorial addresses.
Quick Answer
Most Gate Repair services in Spring fall into three buckets: safe for a careful homeowner (photo-eye cleaning, remote batteries, manual-release operation, basic lubrication), risky regardless of skill (limit-switch adjustment, force-setting calibration, any wiring inside the operator housing), and impossible without proprietary tools (digital encoder programming on LiftMaster, FAAC, BFT, and Linear operators). The professional decision hinges on liability exposure and documentation, not wrench competence. If the task touches entrapment protection, hire a licensed contractor and get the work in writing.
Table of Contents
- The Liability Map: Why Skill Is the Wrong Question
- The 5 Tasks That Are Genuinely Safe for a Careful Homeowner
- The 3 Tasks That Carry Liability Risk Regardless of Mechanical Competence
- Mechanical Limit Switch vs Digital Encoder: How to Tell the Difference
- What a Botched DIY Repair Actually Costs in Spring
- How to Document a DIY Task So a Technician Can Work Efficiently
- Spring-Specific Failure Patterns That Change the Math
- Common Mistakes to Avoid
- When to Call a Professional
- Frequently Asked Questions
- The Bottom Line
BeforeAfterThe Liability Map: Why Skill Is the Wrong Question
Gate repair is one of the few home maintenance categories where a successful mechanical fix can still be a legal failure. The gate swings open. The motor runs. The homeowner saved three hundred dollars. Then a neighbor’s child trips near the closing edge, the gate doesn’t reverse, and the injury report names the homeowner as the party who last modified the operator. In Spring, where driveway gates often sit within ten feet of sidewalks and school walking routes, this isn’t a hypothetical. It’s a recurring pattern we see when homeowners call us after the fact, wanting a safety audit of work they’ve already completed.
UL 325 compliance isn’t a recommendation. It’s a federal standard that gate operators must meet when they’re installed and whenever they’re adjusted. The standard covers three entrapment protections: the inherent reversing mechanism (the motor’s force-sensing system), the external photo-eye or contact edge, and the alarm or manual override. When you change force settings without verifying all three protections, you’ve converted a compliant gate into a non-compliant one. The gate may work. The gate may outlast the house. But if it injures someone, the liability sits with the person who made the change. That’s the core reason the DIY-versus-professional decision should map to risk category rather than difficulty. A photo-eye cleaning is low-risk and genuinely DIY-appropriate. A force-setting adjustment is high-risk and should be left to a professional with a written record of what was changed and why.
We’re not saying this to scare homeowners away from basic maintenance. We’re saying it because the question most people ask, “Can I do this myself?” is the wrong question. The right question is: “If this repair fails or injures someone, what does my liability look like?” For five tasks, the answer is close to zero. For three tasks, the answer is high enough that even a careful homeowner with a multimeter and good intentions should step back. The sections below map each category in detail, and you can find more guides & resources on our blog.
The 5 Tasks That Are Genuinely Safe for a Careful Homeowner
These five tasks require no disassembly of the operator, no adjustment of safety systems, and no exposure to high-tension springs or live wiring. They’re the maintenance equivalent of changing a lightbulb. Do them without guilt, and document them if you want a future technician’s visit to go faster.
1. Photo-Eye Cleaning and Alignment Check
The photo-eye (the infrared beam that stops the gate if something crosses the path) sits in a small housing near the bottom of the gate post. In Spring, dust from decomposed granite driveways, pollen from live oaks, and mud splatter from rainstorms coat the lens within weeks. A soft cloth and a gentle wipe restore function in about two minutes. If the gate still refuses to close after cleaning both lenses, check that the two units are pointed at each other. Misalignment by even two inches is enough to break the beam. This is a safe task because you’re restoring the sensor to its original position, not changing its sensitivity or override settings.
2. Remote Battery Replacement
When a remote works only from ten feet away or not at all, the battery is the first suspect. Nearly all residential gate remotes use a standard coin cell or A23 battery accessible through a slide-off back panel. Replacement takes under a minute. The only caution: note the battery orientation before removing the old one, and don’t force the panel back on if it resists. Some LiftMaster and Linear remotes have a small internal clip that breaks under pressure.
3. Manual-Release Operation
Every automated gate has a manual release mechanism, usually a pull handle, key, or release lever on the operator housing. Knowing how to operate it matters when the power fails, which happens in Spring during thunderstorm season. This is a safe task because you’re not modifying anything; you’re learning the manufacturer’s designed bypass. Read the manual, find the release, and practice once in daylight with the gate in a closed position. Then lock it back and confirm the motor re-engages. Write down the release procedure and tape it inside the garage. When a storm hits and you need the gate open, you’ll have the muscle memory.
4. Basic Lubrication of Hinges and Rollers
Swing gates pivot on hinges that dry out. Slide gates ride on rollers that accumulate grit. A spray lubricant applied to the hinge pins and roller bearings every six months reduces motor strain and extends the operator’s life. In Spring’s humidity, this is a year-round task, because moisture accelerates corrosion on uncoated steel. Use a lithium-based or silicone lubricant, not WD-40, which is a solvent that strips existing lubrication. Apply sparingly, wipe excess, and don’t let lubricant drip onto the gate’s painted surface.
5. Visual Inspection and Logging
Every three months, walk the gate’s full path. Look for cracks in the gate frame, loose bolts at the hinge or track, vegetation touching the gate edge, and wire conduit that’s been pulled loose by lawn equipment. Photograph anything that looks wrong. This task keeps you ahead of failures and creates a record that helps any technician you eventually call. It’s the homeowner’s version of the Gate Repair Maintenance Checklist for Spring Homeowners that commercial access-control technicians use on every site visit.
The 3 Tasks That Carry Liability Risk Regardless of Mechanical Competence
These three tasks share a common thread: each modifies a safety-critical setting. The gate may function perfectly after your adjustment. The liability exposure remains. If you’re considering any of these, read this section carefully and then ask yourself whether the savings justify the risk.
1. Limit-Switch Adjustment
The limit switch tells the gate where to stop at the open and closed positions. On mechanical systems, this is a physical switch or cam inside the operator housing. On digital systems, it’s a position stored in the controller’s memory. Adjusting the limit switch changes the gate’s travel, and an incorrectly set limit can crush a person against a post or leave a gap wide enough for a child to slip through. The mechanical adjustment itself is simple: loosen a screw, move the cam, tighten the screw. The risk isn’t the mechanical work. It’s the outcome if you set it wrong. A gate that closes with enough force to hold a person against the post is a serious entrapment hazard, and the person who adjusted the limit switch is the person who created it.
2. Force-Setting Calibration
Force settings control how hard the motor pushes before it reverses. Set the force too low and the gate won’t close against wind resistance. Set it too high and the gate won’t reverse when it contacts a person. UL 325 sets a maximum closing force, and operators are shipped from the factory with a compliant default. When homeowners adjust force settings to fix a gate that reverses prematurely, they often fix the symptom by creating the hazard. The gate closes. The entrapment protection no longer works. This is the single most common pattern we see in Spring when we’re called to audit a homeowner’s repair work. The fix is usually a two-minute recalibration with a force gauge and a written record of the new settings, but the homeowner has already spent hours and created exposure.
3. Any Wiring Work Inside the Operator Housing
The operator housing contains line-voltage wiring, low-voltage control wiring, and safety-circuit connections. It’s not a place for a homeowner with a screwdriver and a YouTube tutorial. A loose wire on the photo-eye circuit disables the entrapment protection without any visible symptom. A crossed wire on the control board can cause the gate to open when it should close. A nicked insulation can arc and start a fire. None of these failures announce themselves immediately. They appear as intermittent faults, which are the most expensive type of gate problem to diagnose. If you’ve opened the housing and changed anything, write down exactly what you changed and tell the technician when you call. Hiding it doesn’t help. We’ve spent diagnostic time tracing a homeowner’s wire modification that was never disclosed, and the bill was higher because of it.
Mechanical Limit Switch vs Digital Encoder: How to Tell the Difference
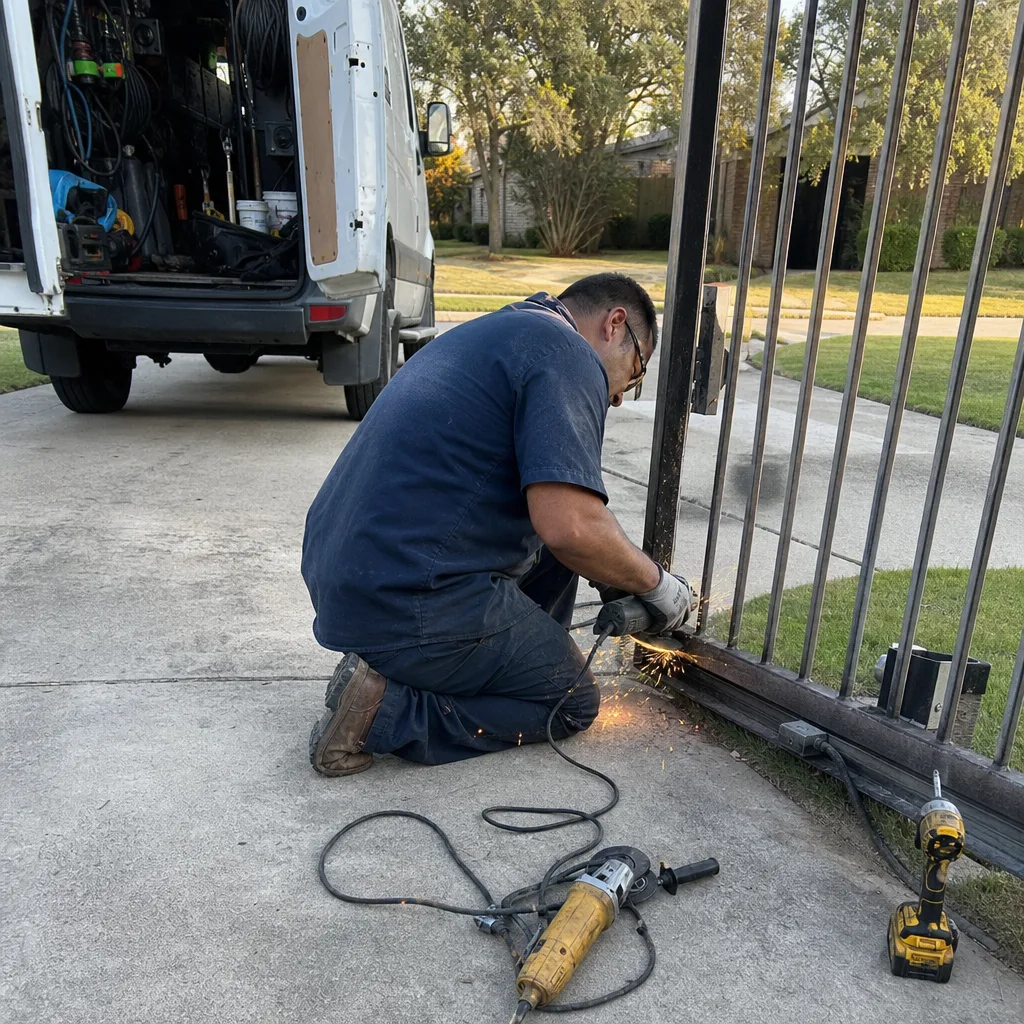
This is the piece of knowledge that separates a useful DIY assessment from a guess. Your gate operator uses one of two limit systems: mechanical or digital. Knowing which one you have tells you whether the repair is within your reach or locked behind proprietary tooling.
A mechanical limit switch is a physical component. Open the operator housing (with the power disconnected) and you’ll see a drive shaft with adjustable cams or a small switch that the gate physically contacts at the end of travel. These systems are user-adjustable with a screwdriver. You loosen the set screw, move the cam, tighten it back down. The operator doesn’t know or care that you changed it. Mechanical limits appear on older gate operators and some entry-level residential models. If you see something that looks like a threaded shaft with small metal collars, that’s a mechanical limit.
A digital encoder is a sensor that tracks motor revolutions and stores the travel limits in the controller’s memory. There’s nothing physical to move. The limits are set by pushing a button on the control board or by connecting a proprietary programmer through a diagnostic port. The controller counts revolutions and remembers the position. If you don’t have the programmer and the access code, you can’t change the limits at all. Digital encoders are standard on modern LiftMaster operators, FAAC swing-gate motors, and most BFT and Linear residential models made after 2015. Attempting to adjust a digital encoder without the programmer usually results in erased limits and a gate that won’t move at all.
Here’s the practical test. If you open the housing and see physical cams or switches that move when the gate travels, you have a mechanical limit. If you see only a circuit board and a motor with sealed wiring, you likely have a digital encoder. The mechanical system is adjustable with basic tools. The digital system is not. If your operator has a digital encoder and the gate isn’t stopping in the right place, call a professional. The diagnostic and adjustment typically takes under an hour, but only with the right equipment.
What a Botched DIY Repair Actually Costs in Spring
Most homeowners calculate DIY savings as the retail cost of the repair minus the cost of parts. That math misses the real cost: the diagnostic time a technician charges to identify what the homeowner changed versus what the gate arrived with. When a gate shows up with a documented history, the technician starts from a known baseline. When a gate shows up with unexplained modifications, the technician starts from scratch.
Here’s an example from a Spring job we worked last year. The homeowner had replaced his own limit switch on a Linear swing-gate operator because the gate was stopping six inches short of the close position. He installed the switch, adjusted the cams by feel, and the gate still stopped short. He then adjusted the force settings to make the gate push through the stop point. The gate closed, but it closed hard enough to bend the gate’s aluminum frame. By the time he called us, the repair required a new limit switch, a full recalibration, a frame straightening, and a force-setting audit. His parts cost was forty dollars. The final repair bill was over six hundred. The difference was the diagnostic time spent untangling his adjustments from the original failure.
We’re not saying every DIY repair ends this way. We’re saying the cost curve is asymmetric. A successful DIY repair saves a service call. A failed DIY repair often costs two to three times what the original professional repair would have cost, because the technician has to reverse-engineer the homeowner’s work before starting the actual fix. The math gets worse when the botched repair touches safety systems, because the technician now has a compliance question to answer, not just a mechanical one.
How to Document a DIY Task So a Technician Can Work Efficiently
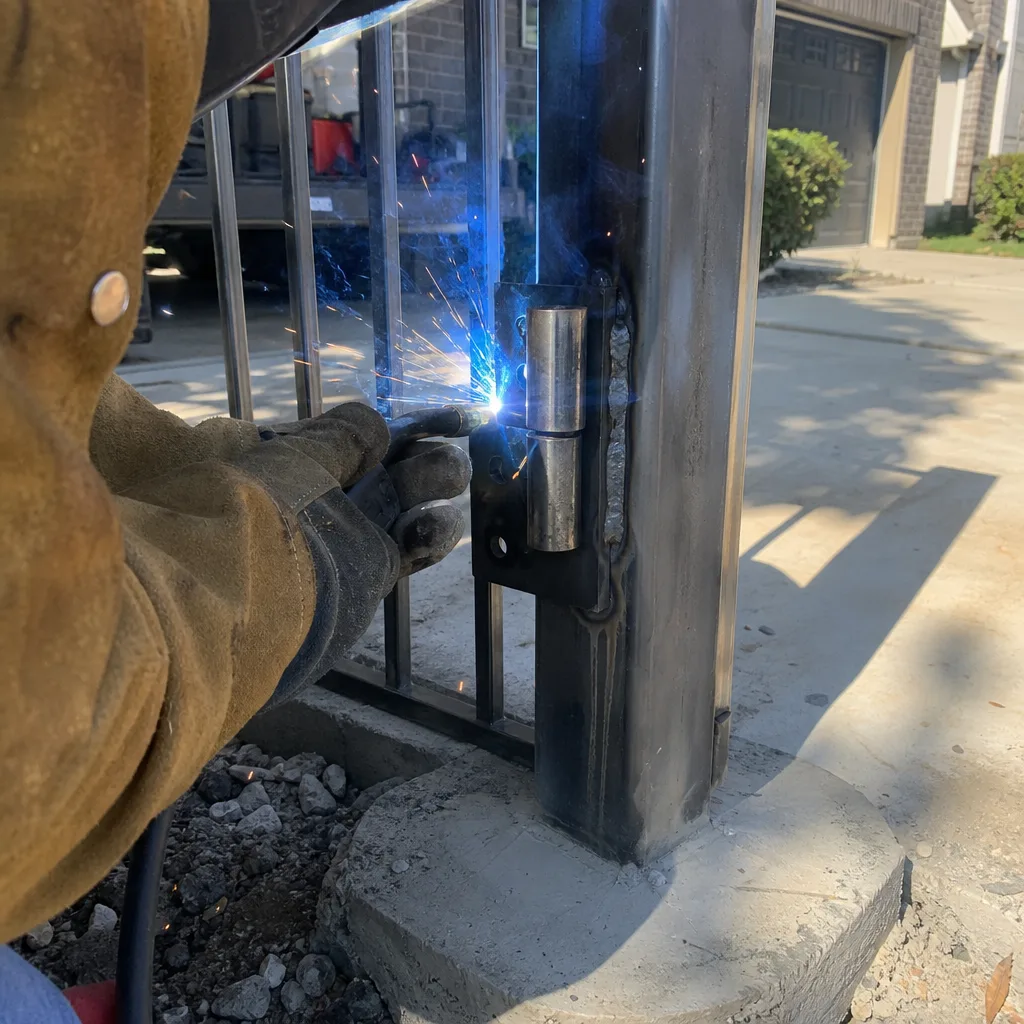
If you complete a DIY gate task, document it. The documentation takes ten minutes and saves the technician thirty. It also preserves your own liability position by showing what you did and did not change.
- Photograph everything before you start. Take wide shots of the operator housing, close shots of the wiring terminals, and shots of the limit switch or encoder position. These photos establish the baseline.
- Record every setting you change. If you move a limit cam, photograph the original position first and note which direction you moved it and by how much. If you adjust force settings, write down the original number and the new number.
- Write down the part numbers of anything you replace. The part number stamped on the old component and the new component. If you bought a generic replacement, note that too. Generics don’t always fit the way manufacturers intend.
- Photograph everything after you finish. Show the final position of every adjustment and the completed wiring. These photos are the after-action record.
- Test the gate and write down the result. Does it open fully? Does it close fully? Does it reverse when something blocks the photo-eye? Does it reverse when it contacts a rigid object at low speed? Record each answer.
- Store the documentation where you can find it. A folder on your phone or a printed sheet in the garage. When a technician arrives, hand over the record. The diagnostic time you save is real money.
This is the same documentation habit that governs commercial access-control work, and it’s the reason Vance Gate Repair includes a photo log with every service visit. A gate with a documented history is cheaper to repair than a gate with a mystery.
Spring-Specific Failure Patterns That Change the Math
Gate repair in Spring isn’t the same as gate repair in Arizona or Minnesota. Our climate and soil create failure patterns that shape the DIY-versus-professional decision in specific ways. If you’re researching online tutorials, filter them through these local realities.
First, the clay soil. Spring sits on expansive clay that swells when wet and shrinks when dry. A gate post set in clay moves seasonally, which shifts the gate’s alignment relative to the operator. A gate that closed perfectly in March might bind in August after a dry spell drops the soil. Homeowners often respond by adjusting the force settings to push through the binding, which creates the entrapment hazard described earlier. The right fix is usually post stabilization or hinge adjustment, not force-setting changes. A professional in Spring knows to check the post alignment first, because the soil behavior is predictable.
Second, the humidity and salt air from the Gulf. Spring sits close enough to the coast that corrosion accelerates on exposed metal. Hinges, roller bearings, and wire terminals degrade faster than they would inland. A homeowner performing basic lubrication and visual inspection is doing exactly the right work. But corrosion inside the operator housing is a different animal. A corroded terminal can arc, a corroded limit switch can fail intermittently, and a corroded control board can behave unpredictably. Opening the housing to clean corrosion without understanding the circuit layout risks making the problem worse.
Third, the storm season. Thunderstorms and the occasional tropical system bring power surges that damage operator control boards. When a surge kills a board, the repair isn’t DIY. It’s a component replacement that requires matching the board to the operator model and firmware version, then recalibrating the limits and force settings from scratch. A homeowner can replace a board, but getting the settings right without the manufacturer’s programming instructions is a coin flip. In Spring, surge-damaged boards are one of our most common repair calls, and they’re usually straightforward for a professional with the right documentation.
These local factors don’t change the fundamental rule. They change the frequency with which you’ll see certain failures and the likelihood that a DIY fix will backfire. A homeowner in Spring who understands the clay soil and the humidity patterns will make better decisions than one who doesn’t.
Common Mistakes to Avoid
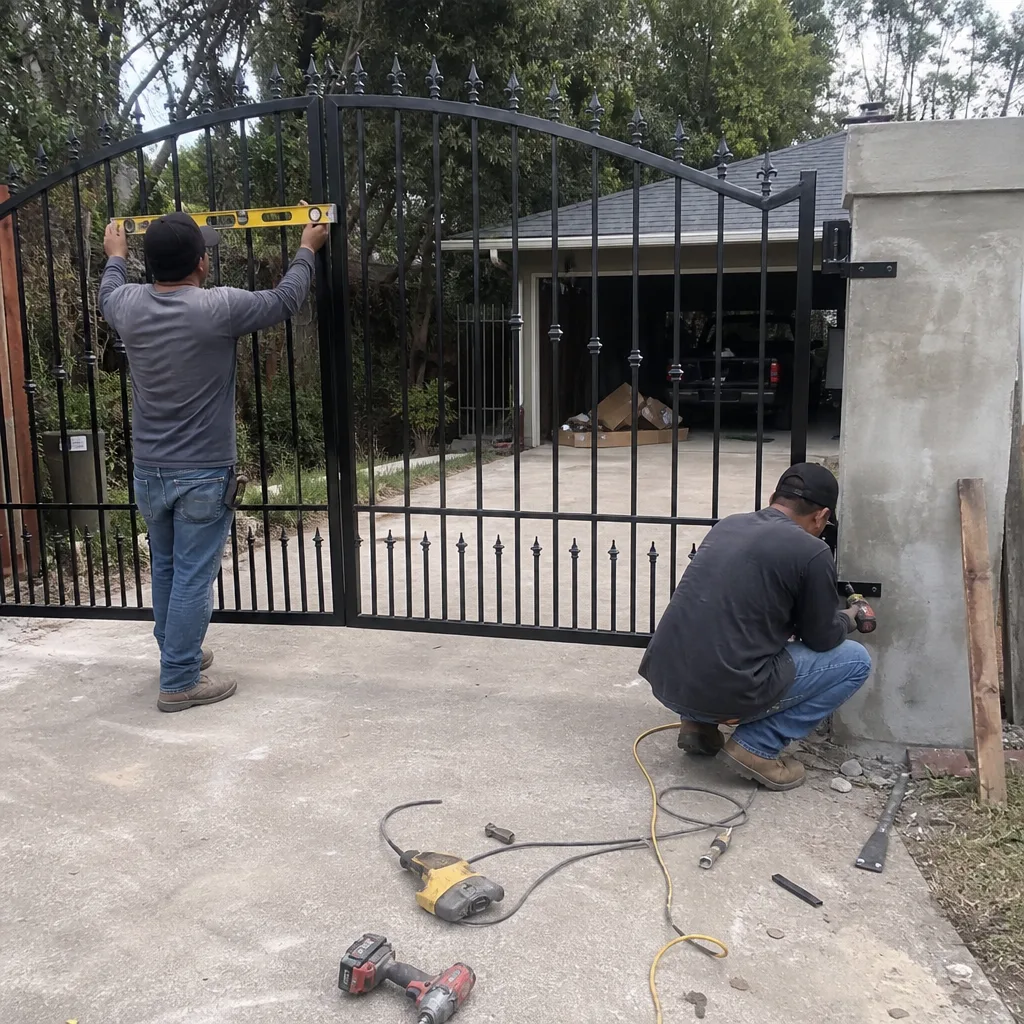
- Adjusting force settings to fix a gate that reverses prematurely. A gate that reverses for no reason usually has a misaligned photo-eye or a binding hinge, not inadequate force. Crank the force up and you’ve created an entrapment hazard without fixing the underlying problem.
- Attempting digital encoder programming without the proprietary tool. Modern LiftMaster, FAAC, BFT, and Linear operators use sealed encoders that require manufacturer-specific programmers. A screwdriver won’t help, and forcing the controller into programming mode often erases the existing limits.
- Replacing a limit switch without photographing the original wiring first. The replacement switch has different terminal positions than the original. Without a photo of the original wiring, you’re guessing, and a wrong connection can disable the photo-eye circuit silently.
- Lubricating the operator’s internal gear train with the wrong product. Spray lubricants inside the housing attract dust and break down over time, leaving a paste that accelerates wear. Internal gears need manufacturer-specified grease, not whatever is on the garage shelf.
- Ignoring the manual release for years, then discovering it’s seized during a power outage. The release mechanism needs periodic operation to stay functional. Practice it twice a year and you’ll have a working bypass when the power fails.
- Buying a generic replacement part to save twenty dollars. Generic limit switches and remotes often have different tolerances and frequencies than the originals. The savings disappears the first time you have to troubleshoot a mismatch.
- Concealing a DIY repair from the technician you eventually call. The technician will find it anyway, and the diagnostic time you’ve added by hiding it is on your invoice. Disclose what you changed. It saves money.
When to Call a Professional
Call a professional when the repair touches a safety system: limit switches, force settings, photo-eye wiring, or anything inside the operator housing that carries line voltage. Call a professional when the operator uses a digital encoder and you don’t have the programming tool. Call a professional when the gate shows intermittent faults that don’t reproduce consistently, because those require diagnostic equipment and experience to trace. Call a professional when the gate has already been modified by a previous homeowner or an undocumented repair, because the baseline is gone and someone needs to rebuild it. In any of these cases, the professional’s written record is part of what you’re paying for. Gate Repair in Spring is one of our core service areas, and we handle these calls regularly. Vance Gate Repair Spring offers free estimates in Spring, call (346) 488-1637 and we’ll give you a written price before any work starts.
Frequently Asked Questions
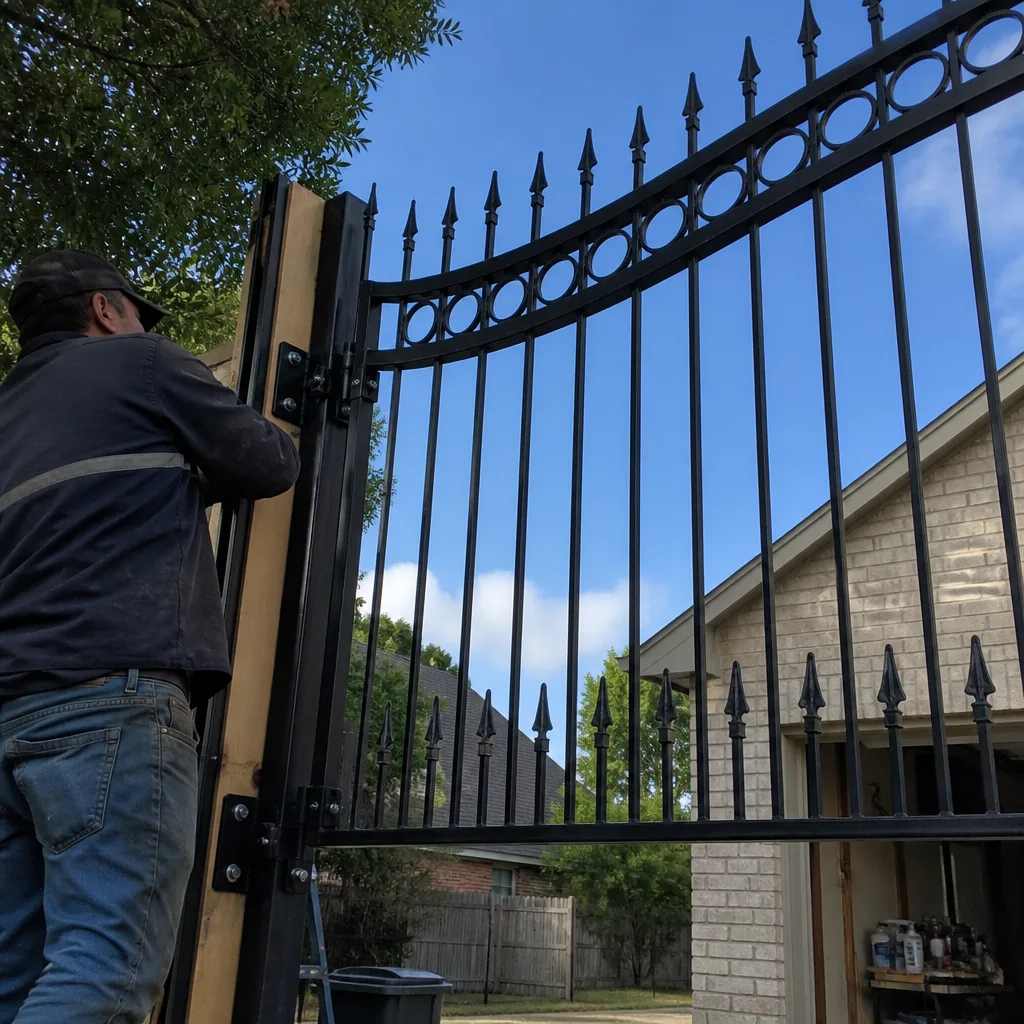
Gate repair in Spring typically runs between $180 and $450 for common fixes like limit-switch adjustment, force recalibration, photo-eye replacement, and hinge repairs. Motor and control-board replacements run higher, usually $500 to $1,200 depending on the operator brand and whether parts are in stock locally. See our Gate Repair Cost Breakdown: The Spring Homeowner’s Reference for 2026 for detailed pricing. Every job at Vance Gate Repair includes a written price before work starts, so there’s no surprise at the end. For an exact quote on your gate, call (346) 488-1637.
You can safely handle five tasks: photo-eye cleaning, remote battery replacement, manual-release operation, hinge lubrication, and visual inspection. You should not attempt limit-switch adjustment, force-setting calibration, or any wiring work inside the operator housing, because those tasks carry liability exposure under UL 325 regardless of your mechanical skill. If the task touches entrapment protection, hire a professional.
Open the operator housing with the power disconnected and look at the drive mechanism. If you see physical cams or switches that move when the gate travels, you have a mechanical limit switch. If you see only a sealed motor and a circuit board with no moving parts, you have a digital encoder. Mechanical switches are screwdriver-adjustable. Digital encoders require a proprietary programmer and are not user-adjustable.
If you adjust force settings without verifying that all entrapment protections are compliant, you assume liability for any injury the gate causes. UL 325 has no homeowner exemption. The gate may work fine for years, but if it injures someone, the person who last modified the setting is the person named in the claim. This is the strongest argument for leaving force calibration to a professional with documentation.
Yes. Vance Gate Repair services nine major automation brands including LiftMaster, FAAC, BFT, and Linear, plus Viking, Ghost Controls, DoorKing, Elite, and Mighty Mule. We work on whatever motor is already on the property rather than steering you toward a replacement. Gate Motor & Opener in Spring covers the range of motors we service and repair.
Photograph the operator before and after, record every setting you changed with original and new values, write down part numbers of anything you replaced, test the gate’s reversing functions, and store the documentation where a technician can see it. A documented DIY repair saves diagnostic time and money if you later need professional help. Call (346) 488-1637 if you want a professional review of your documentation.
The Bottom Line
The DIY-versus-professional decision for gate repair in Spring comes down to three questions: Does the task touch a safety system? Does the operator use a digital encoder? Can you document what you did? If the answer to the first is yes, hire a professional. If the answer to the second is yes, hire a professional. If the answer to the third is no, reconsider. The five safe tasks are genuinely safe, and every Spring homeowner should handle them without hesitation. The three risky tasks are risky regardless of skill, and the liability exposure isn’t worth the savings. Most importantly, when you do hire a professional, insist on a written price before work starts and a documented record when the technician leaves. That’s the standard every gate repair should meet, and it’s the standard we’ve built Vance Gate Repair around since Adrian Vance started the company in 2014. If you’re in Spring and want a written estimate, call (346) 488-1637. We’ll show up, diagnose the gate, and hand you a price in writing before anyone picks up a tool.
Written by Adrian Vance, Owner at Vance Gate Repair Spring, serving Spring since 2014.