
Last updated September 20, 2026
Free on-site gate assessment - hinges, posts, and your LiftMaster or Nice gate operator checked before anything is quoted
The assessment is free and the quote is the invoice.



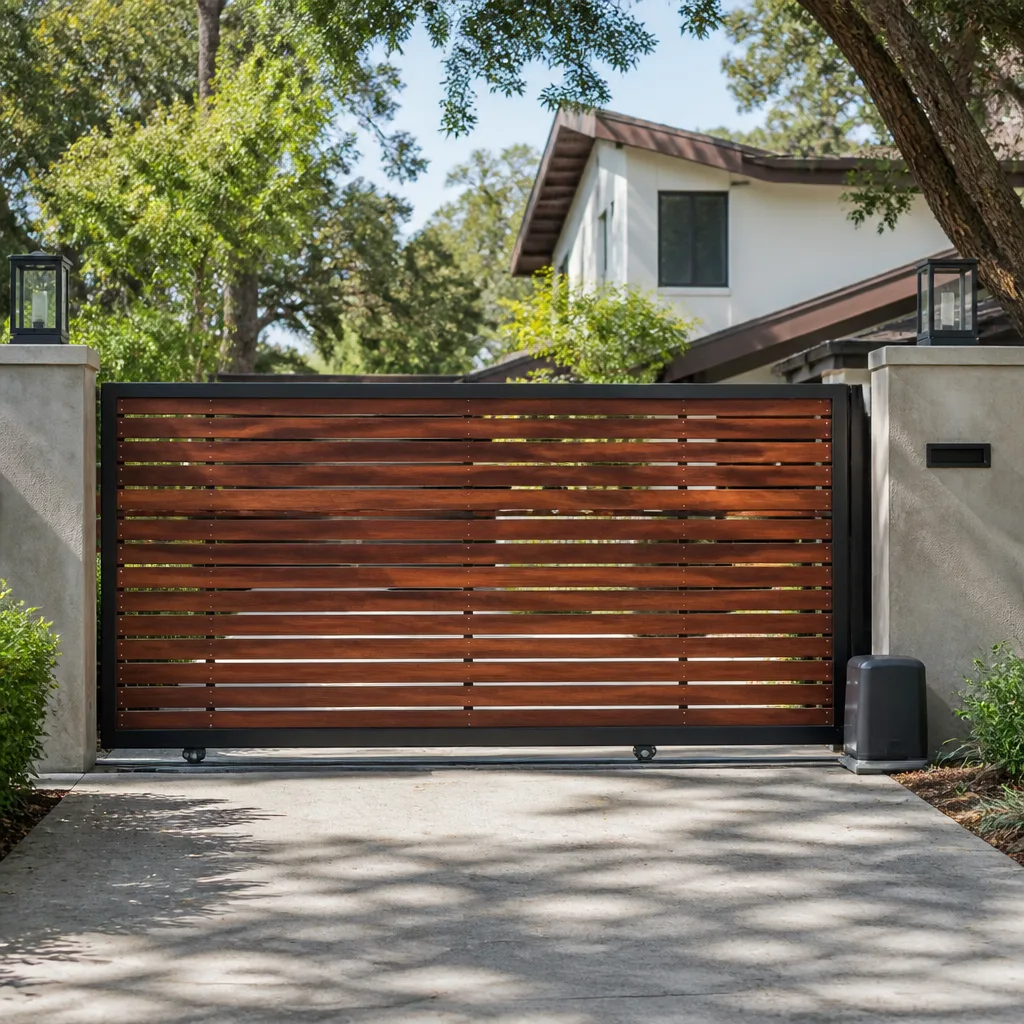
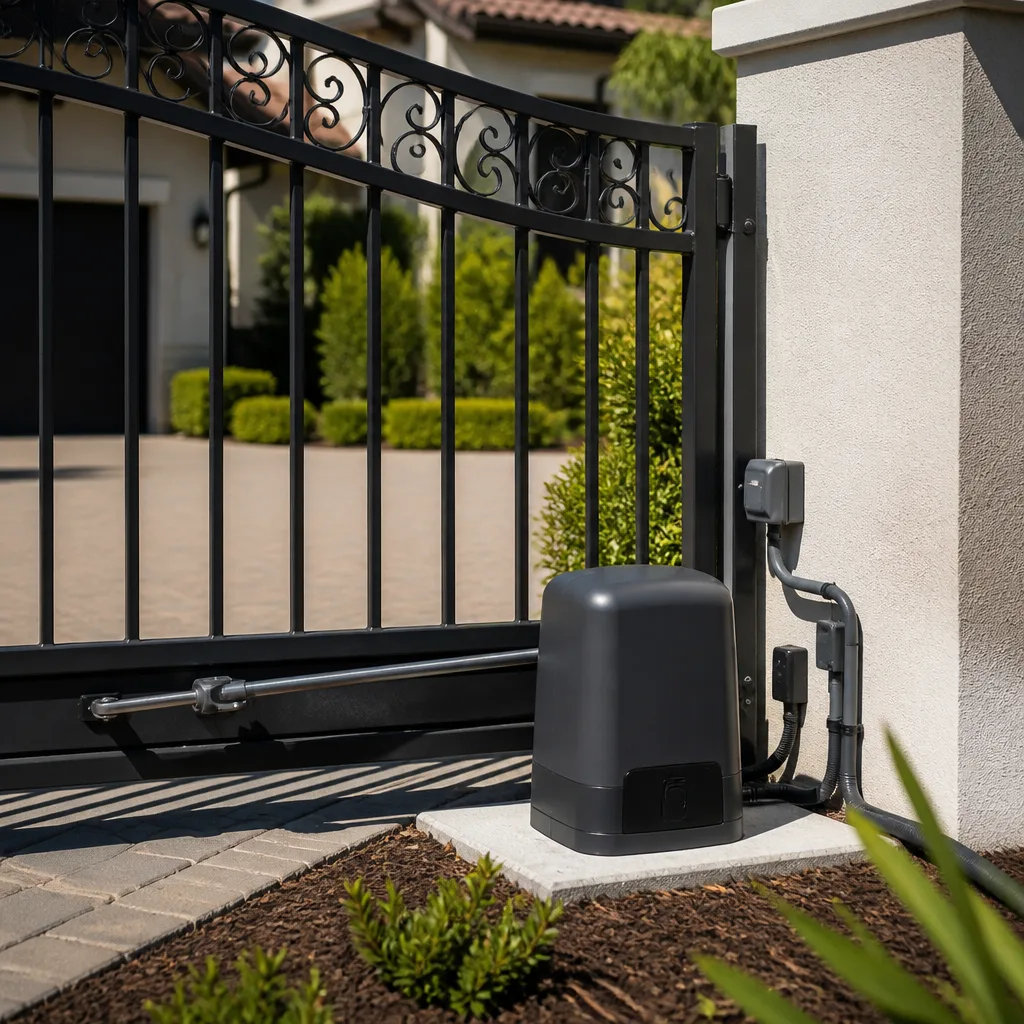
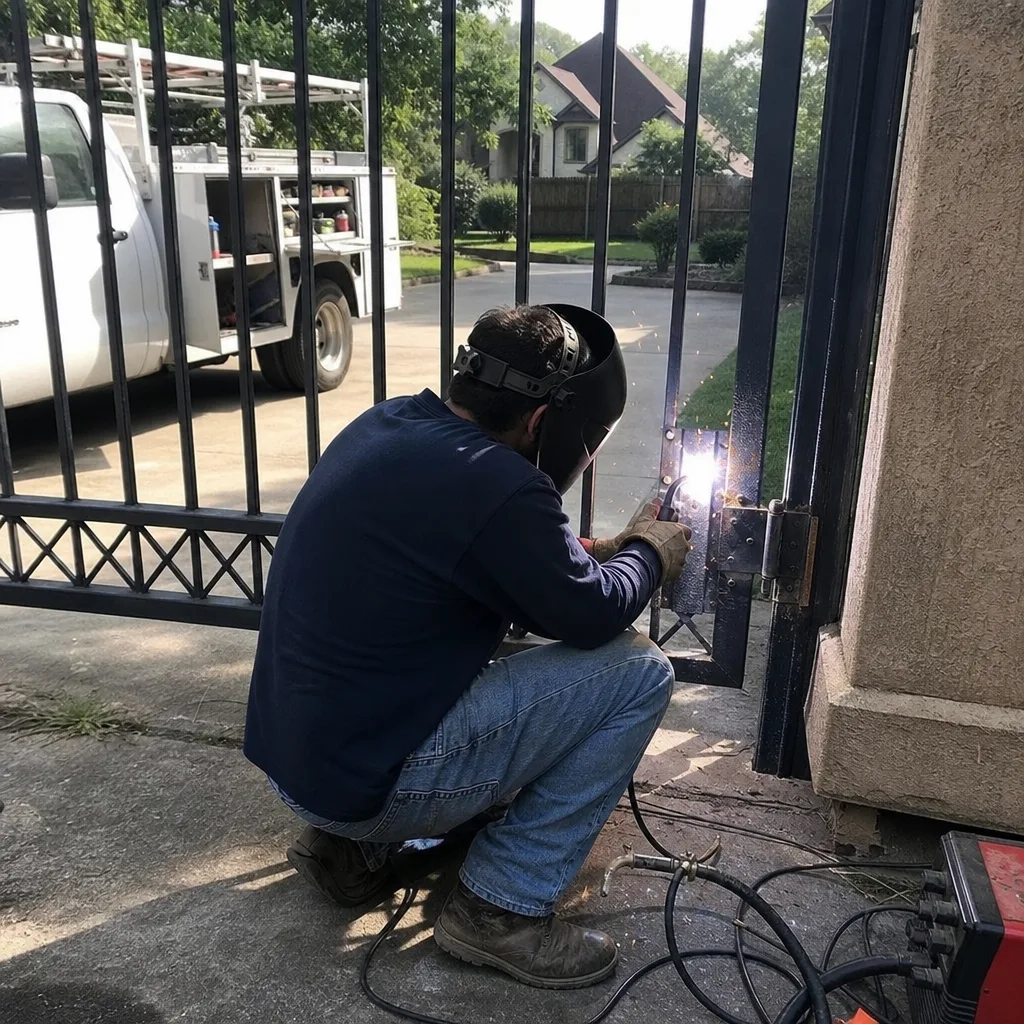
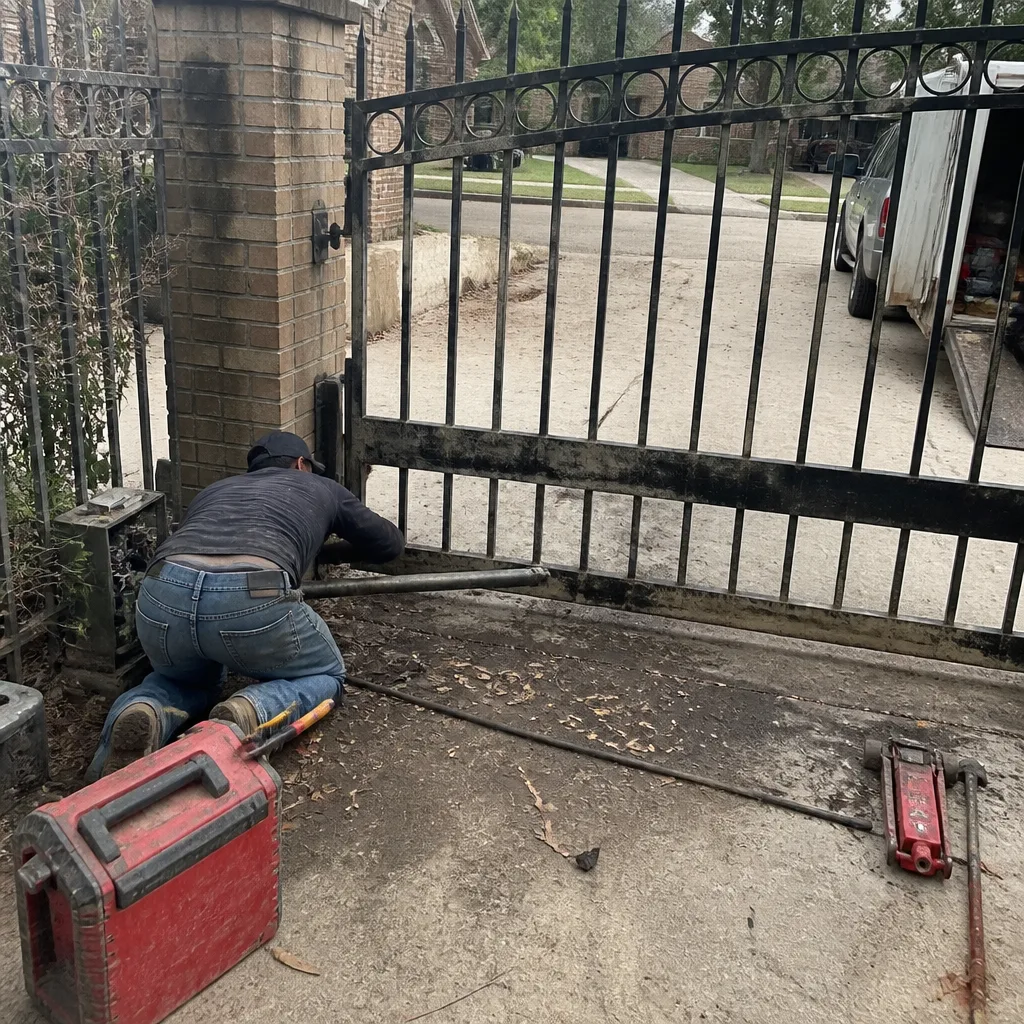 Before
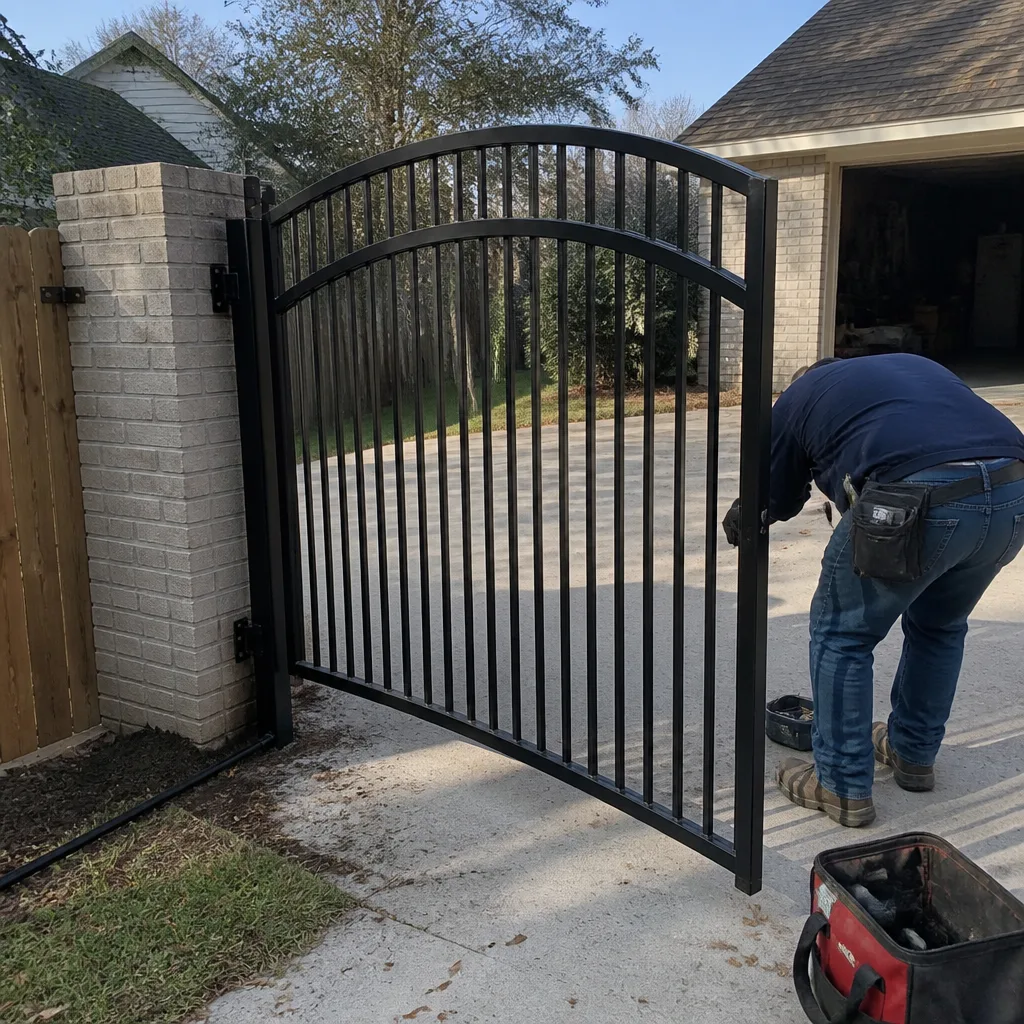 After
After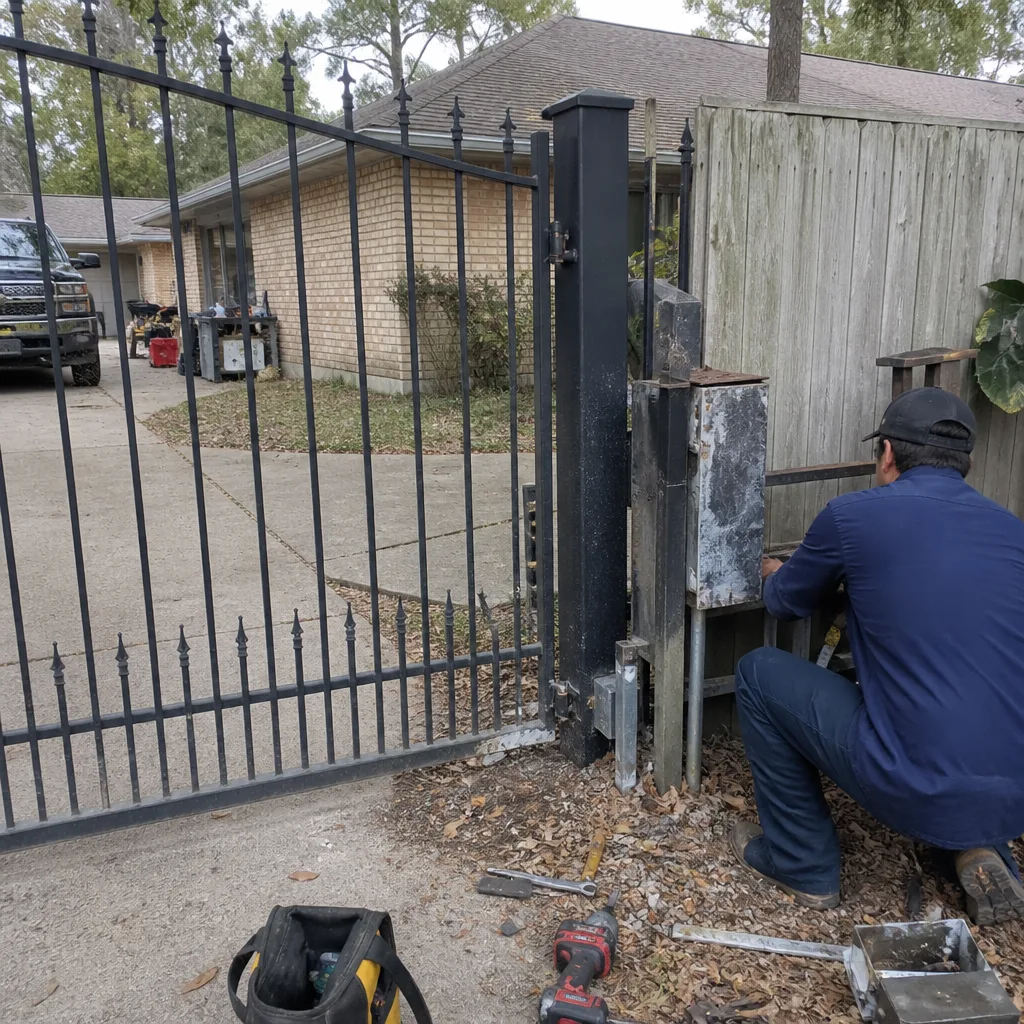 Before
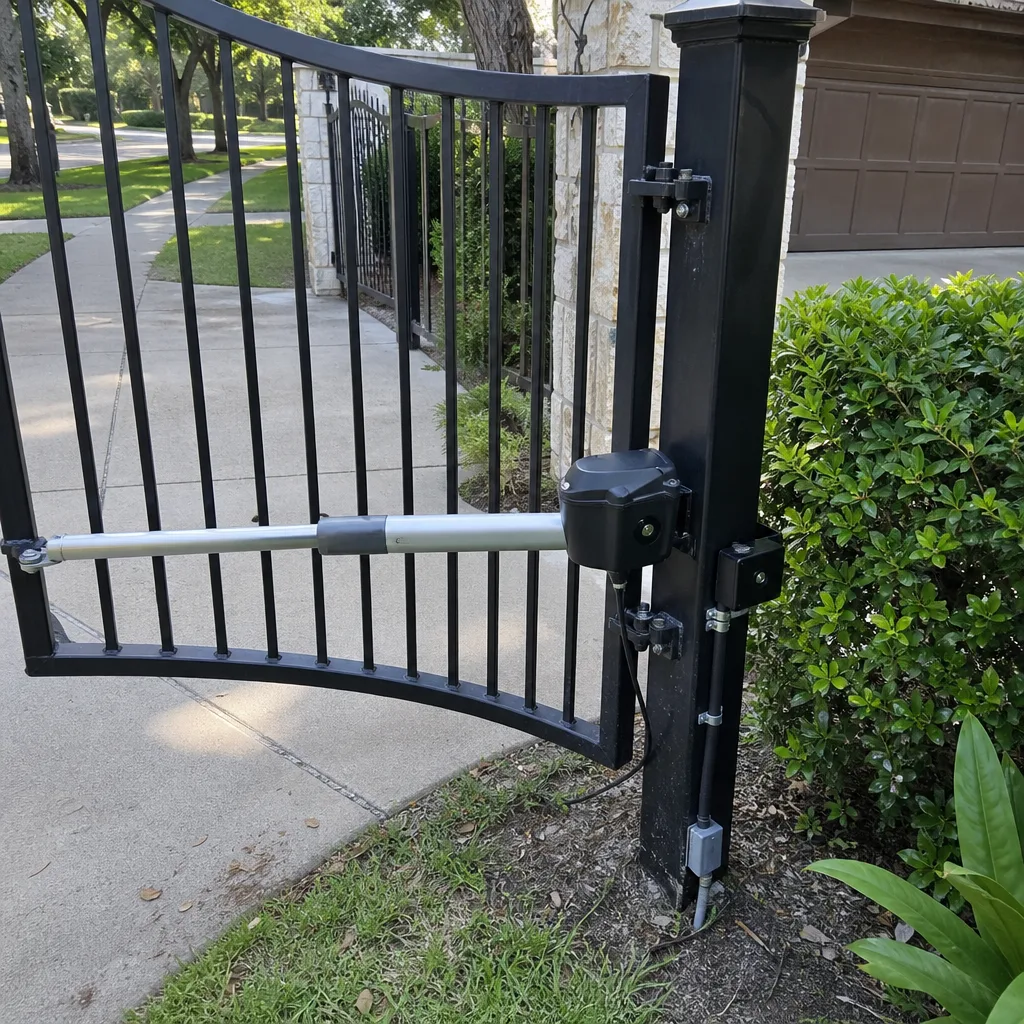 After
After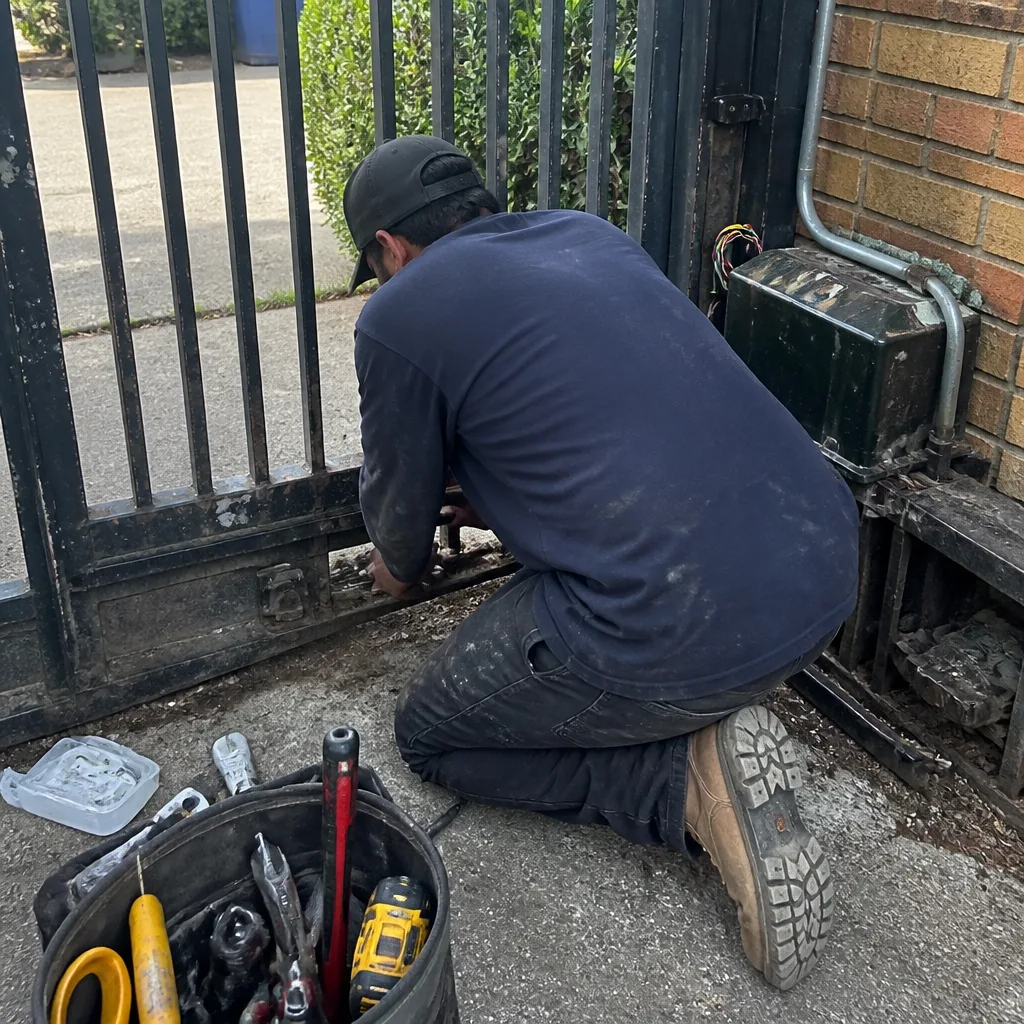 Before
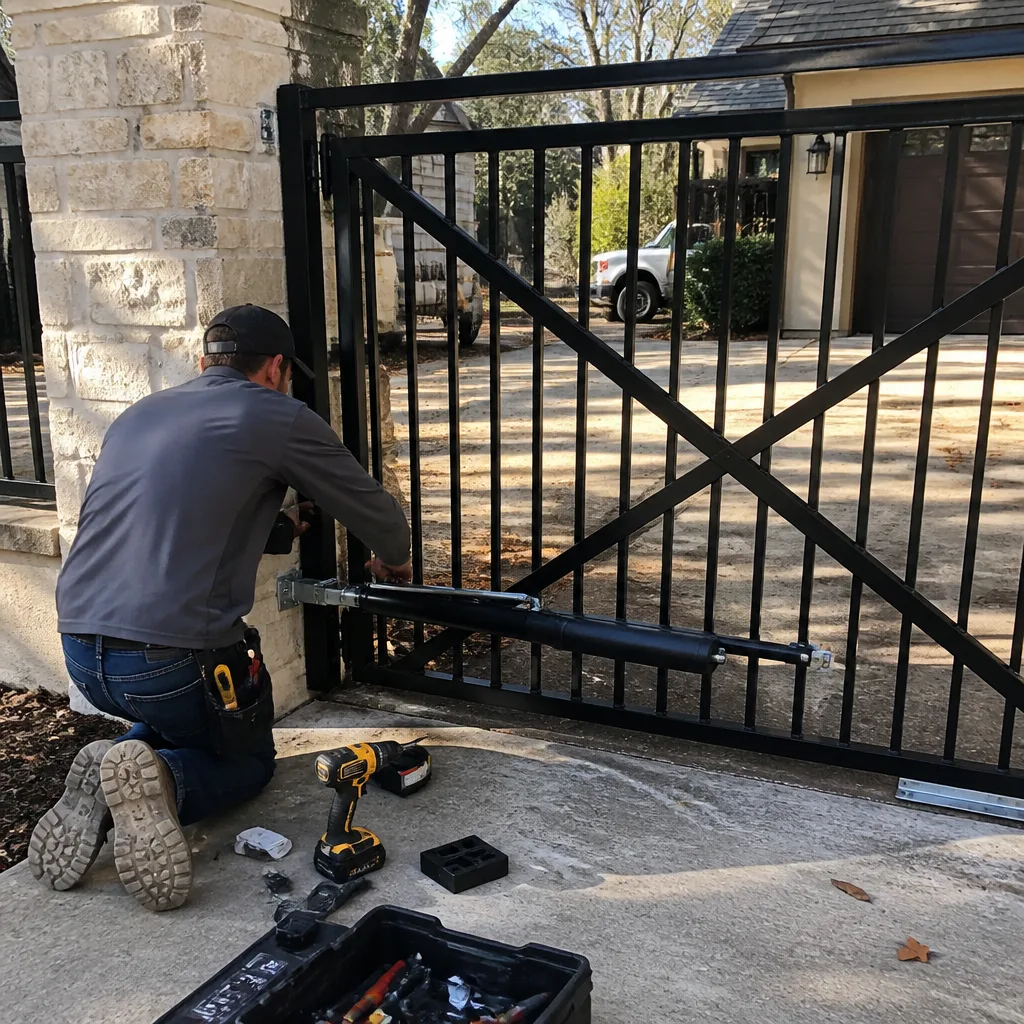 After
AfterGate Repair Maintenance Checklist for Spring Homeowners
A gate hinge in Spring, TX expands and contracts roughly 0.04 inches with each summer day-to-night temperature swing. Over a full season, that movement loosens fasteners that a standard torque check won’t catch until the gate starts sagging. This guide is built around the three conditions that actually kill gates in Spring: thermal cycling above 95°F, afternoon thunderstorm moisture, and Bermuda grass root pressure on footings. For a deeper look at local requirements, see our guide to Gate Repair Permits, Codes & Inspections in TX: What You Need to Know. You’ll get a working checklist, the tolerances that matter, and the documentation habit that saves you money when a technician eventually needs to come out.
Quick Answer
A Spring gate maintenance checklist should focus on six areas: hinge and bracket torque, post plumb, motor and limit-switch function, battery backup voltage, storm damage inspection, and lubrication with high-heat tolerant products. Most homeowners can handle the visual inspection and documentation themselves, but any Gate Repair involving springs, motor internals, or a post that’s out of plumb by more than 1/4 inch over 4 feet needs a professional. A seasonal check in early spring and again in late fall catches most failures before they strand you outside the driveway.
Table of Contents
- The Hinge and Bracket Torque Check
- How to Measure Post Plumb with a 4-Foot Level
- Post-Storm Inspection: What to Check After 40 MPH Winds
- Battery Backup Voltage: The 30-60 Day Warning Window
- Lubrication in High-Heat Climates: What Not to Use
- The Photo-Documentation Habit That Saves You Money
- Seasonal Timing: When to Run This Checklist in Spring
- Common Mistakes to Avoid
- When to Call a Professional
- Frequently Asked Questions
BeforeAfterThe Hinge and Bracket Torque Check
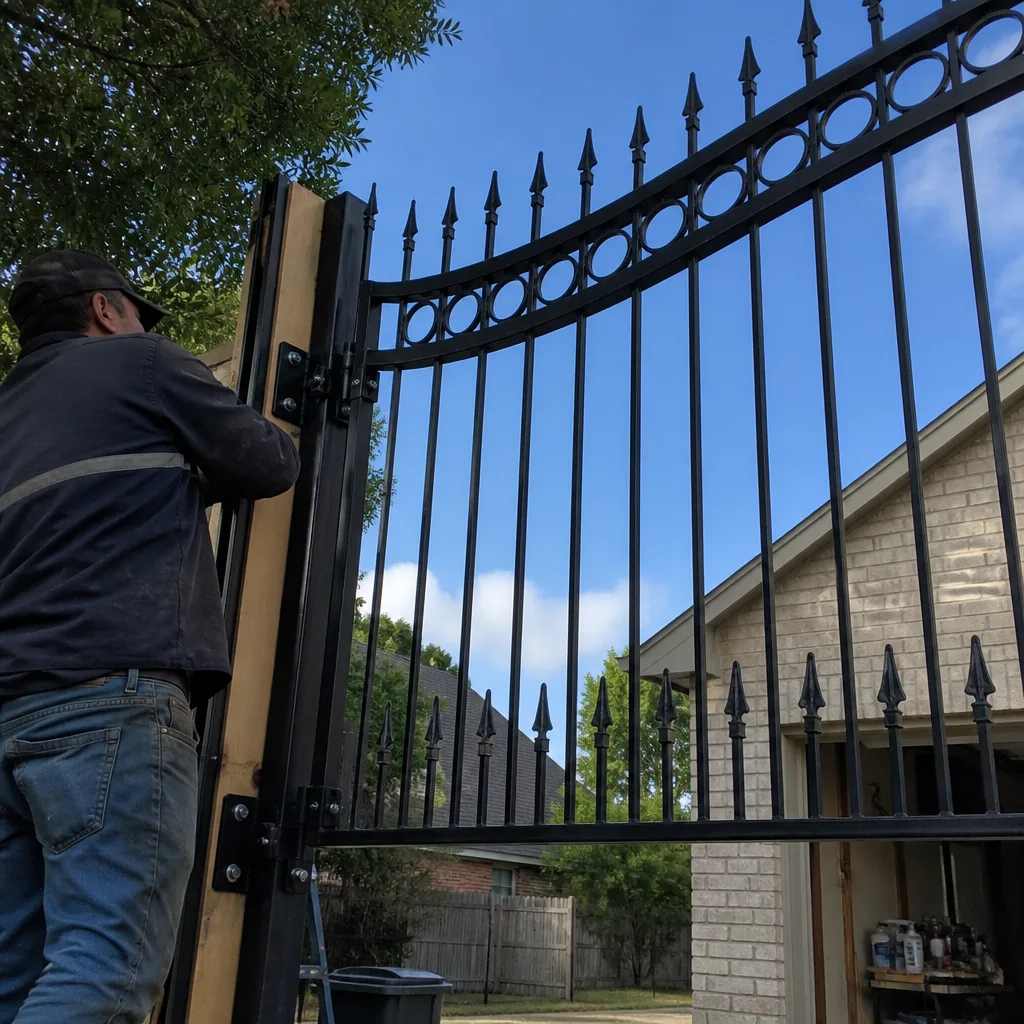
When we repair gates in Spring, the first thing we look at is rarely the motor. It’s the hinges. Thermal cycling here is brutal: a steel hinge that soaks up 98°F afternoon heat and then cools to 72°F overnight goes through a measurable expansion and contraction cycle every single day from May through September. Fasteners that were torqued correctly at install back off slowly, and the gate starts to lean. You’ll see it first as a scrape mark on the concrete or a gate that no longer closes flush against the stop.
Here’s the torque check we recommend, in order:
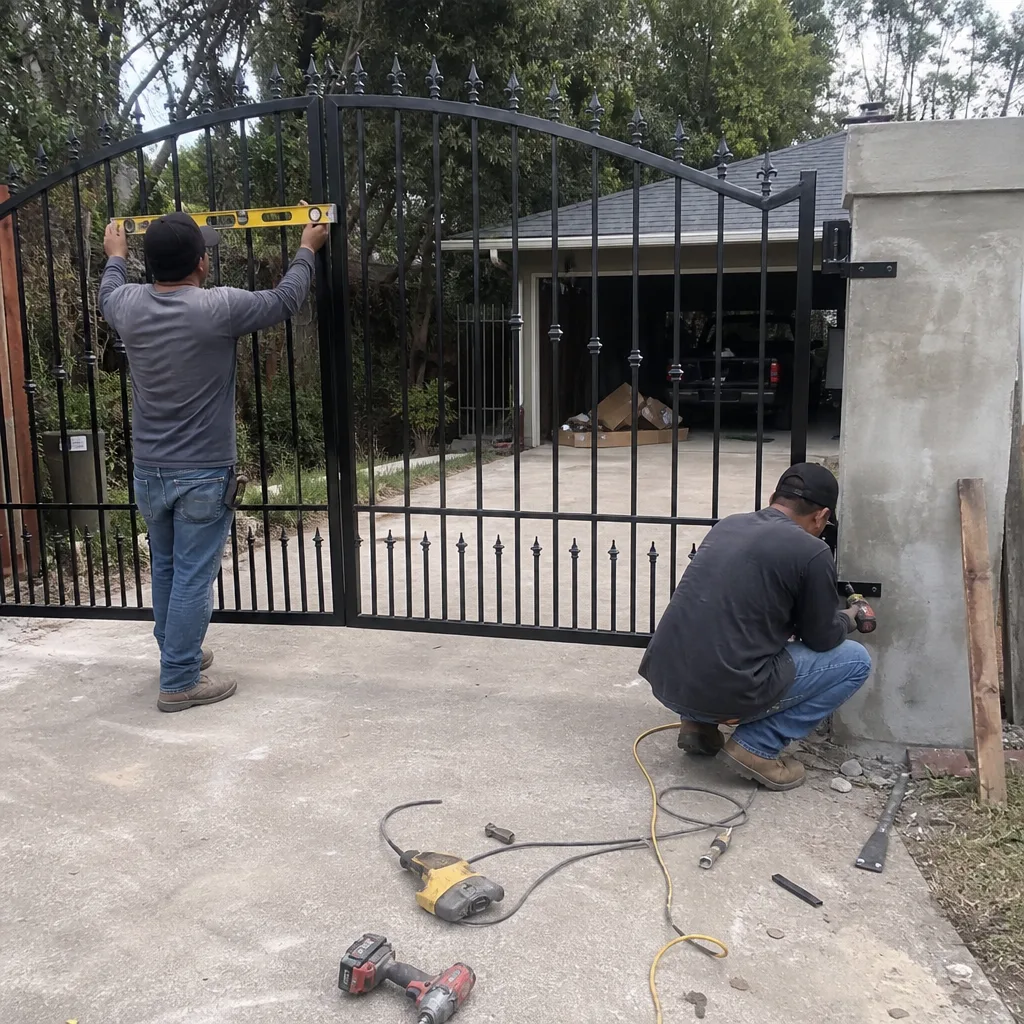
- Visual sag check. Stand 10 feet back from the closed gate and look at the gap between the gate and the post. The gap should be consistent top to bottom. If it narrows at the top, the gate is sagging forward; if it narrows at the bottom, the upper hinge is pulling away from the post.
- Lift test. Grab the latch end of the gate and lift upward. Movement beyond 1/8 inch means the hinge pin or hinge bracket is worn. On a swing gate, this is the single most predictive test for future failure.
- Fastener snug check. With the appropriate wrench (usually 9/16 or 14mm on residential gates), check each hinge bolt and bracket bolt. If you can turn any bolt more than a quarter turn without effort, it’s loose. Do not overtighten: on aluminum posts, you’ll strip the threads; on steel, you’ll distort the bracket.
- Weld inspection. If your gate is welded steel, look at each weld joint for rust bloom or hairline cracks. Spring’s humidity and afternoon rain accelerate oxidation, and a cracked weld on a gate hinge is a matter of time, not a matter of if.
We’ve seen gates in Spring neighborhoods like Gleannloch Farms and Benders Landing fail at the hinge bracket while the motor was still perfectly functional. The motor gets blamed; the hinge was the problem. A torque check takes ten minutes and costs nothing.
If you find a loose hinge but the post is still solid, tightening is straightforward. If the post itself moves when you lift the gate, skip to the plumb section below; tightening hardware on a moving post just transfers the problem.
How to Measure Post Plumb with a 4-Foot Level
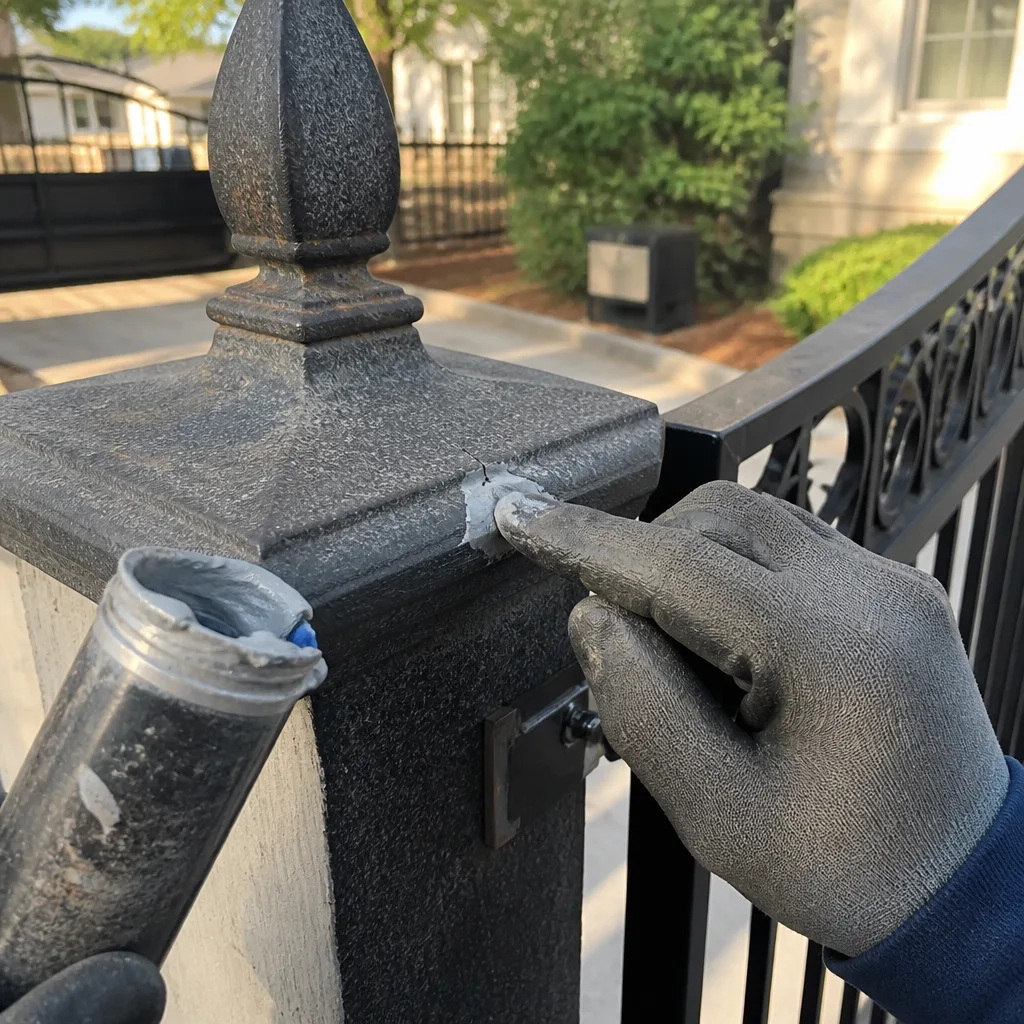
Post plumb is the most important structural measurement on any gate, and it’s the one almost no homeowner checks. A post that drifts out of vertical by even 1/2 inch over 6 feet changes the entire geometry of the gate: hinges bind, the latch misses the catch, and the motor load increases dramatically. In Spring, the culprit is usually a combination of saturated clay soil after a heavy rain and root pressure from Bermuda grass, which sends runners under footings and keeps growing where you can’t see it.
Here’s how to measure plumb accurately, step by step:
- Get a 4-foot level. A 2-foot level won’t give you a reliable reading on a 6- to 8-foot post. The 4-foot length smooths out surface irregularities and gives you a true vertical reference.
- Place the level against the post on two faces at once. Check the face that runs parallel to the gate’s travel first, then the face perpendicular to it. A post can be plumb one direction and leaning in the other.
- Read the bubble at eye height. If the bubble is completely inside the center marks, the post is within roughly 1/8 inch of vertical over 4 feet. That’s the normal settling range for a properly installed footing in Spring soil.
- If the bubble touches or crosses a line, measure the gap. Hold the level tight against the post at the top and measure the gap between the level and the post at the bottom. A gap of 1/4 inch or less over 4 feet is usually within tolerance for most residential gates. A gap over 1/4 inch means the footing is moving or the post was never set correctly.
- Check both posts. On a swing gate, the hinge post and the latch post both need checking. On a slide gate, check the two end posts and the mid-span support if there is one.
If you’re measuring more than 1/4 inch out of plumb, don’t just re-shim the hinge and call it done. In Spring’s expansive clay soil, a moving post usually means the footing isn’t deep enough, or water is pooling at the base and softening the soil. We regularly see footings that were poured at 18 inches when they needed to be 30-plus, and the post starts leaning within two or three years. The fix is a new footing or, in some cases, a helical pier. Either way, that’s a professional job: a gate under tension from a misaligned post is dangerous, and a post that lets go while the gate is in motion can injure someone.
Post-Storm Inspection: What to Check After 40 MPH Winds
Spring sees multiple storms per year with gusts above 40 mph. Your gate catches that wind like a sail, and the force isn’t evenly distributed: it concentrates at the hinge brackets, the latch point, and the arm attachment on the motor. After every storm that makes you stop and look out the window, run this inspection before you use the gate normally:
- Check the arm attachment bracket. This is the most common storm failure on automated gates. The bracket that connects the opener arm to the gate takes the full brunt of wind loading. Look for elongated bolt holes, bent bracket ears, or a bracket that’s pulled away from the gate frame by more than a hair’s width.
- Listen for a new sound. After high wind, run the gate one full cycle and listen. A new groan, creak, or rattle that wasn’t there before means something shifted. Don’t ignore it; the load is being carried somewhere it wasn’t designed to be.
- Inspect the photo-eye alignment. Storms flex the gate, and the gate frame can move just enough to throw off the infrared beam. If your gate won’t close after a storm, or stops and reverses for no reason, the photo-eye is misaligned more often than not. Look for the indicator lights: most photo-eyes show green for aligned and red for misaligned.
- Check for debris in the track. On a slide gate, wind blows leaves, twigs, and trash into the steel track. Even a small obstruction increases motor load and shortens the life of the drive wheels. Clear the track and inspect the wheels for debris-worn edges.
- Check the canopy frame if you have one. A cantilever gate with a decorative canopy is a big wind target. Look at the welds where the canopy supports meet the gate frame. These welds crack before anything else on the gate.
In our experience, about a third of the storm-related repair calls we get in Spring are for problems that a 10-minute inspection would have caught while they were still cheap to fix. That’s the argument for running this checklist proactively: after a 40 mph storm, spend ten minutes looking before something fails at 7 a.m. on a Monday. For Gate Repair Warning Signs: A Spring Homeowner’s Reference Guide, check our seasonal resource.
Battery Backup Voltage: The 30-60 Day Warning Window
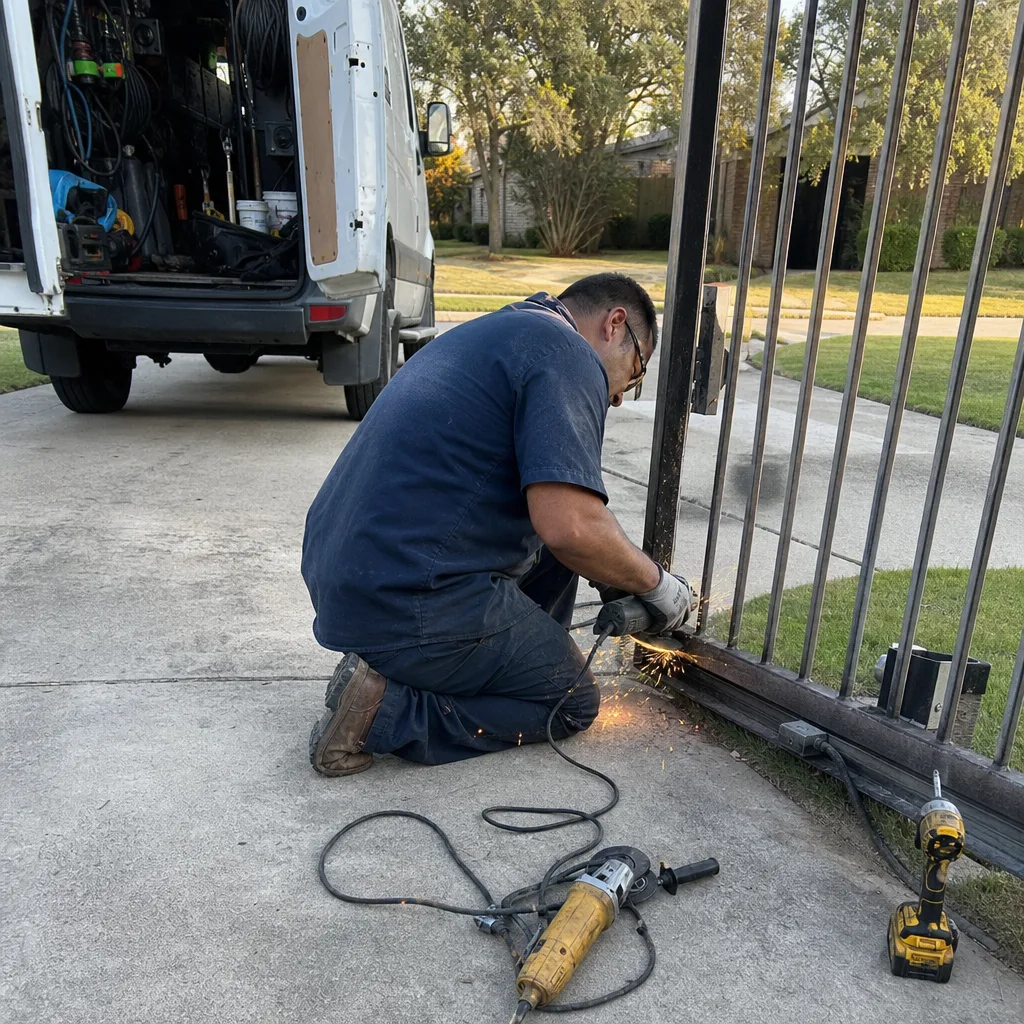
Most automated gate systems in Spring have a battery backup, and most homeowners don’t know it exists until the power goes out and the gate won’t open. Here’s what you need to know: a 12-volt sealed lead-acid battery in a gate operator has a service life of 3 to 5 years in our climate. Heat shortens it. Humidity corrodes the terminals. And the battery almost never dies suddenly; it fades over 30 to 60 days, and a simple voltage check tells you the end is coming before you’re stranded.
The voltage thresholds that matter:
- 12.6V or higher (measured at rest, charger disconnected): Healthy. This is a fully charged battery with no immediate concern.
- 12.2V to 12.5V: Acceptable but aging. This battery is in the second half of its service life. Plan to replace it within 12 months.
- 11.8V to 12.1V: Replace within 30 to 60 days. This is the warning window. The battery still holds enough charge to run the gate a few times, but capacity is dropping fast. In a power outage, you might get two cycles instead of twenty.
- Below 11.8V: Replace now. This battery is effectively done. It cannot reliably operate the gate during a power failure, and attempting to do so can damage the charger board in the operator.
- White lithium grease for gate arm pivots and hinge pins. It handles high temperatures well, resists washout from rain, and stays in place. Spray or brush it on, work the joint through a few cycles, and wipe off the excess so it doesn’t collect dust.
- Silicone-based lubricant for rollers and slide gate wheels. It won’t attract grit the way oil-based products do, and it provides a thin, even coat that holds up in heat.
- Dry graphite for the latch mechanism and key cylinder. Wet lubricants in a key cylinder collect dust and gum up in heat. Graphite stays dry and keeps the mechanism working smoothly.
- Take four photos once a month, same angles every time: the hinge side of the gate, the latch side, the motor and arm from the side, and the full gate from 10 feet back. Same four photos, same day each month.
- Store them in a dedicated album on your phone. Name it “Gate” and don’t mix them with family photos. You now have a time-stamped visual record.
- When something changes, photograph it immediately. New sag, new sound, new scrape mark, storm damage: photograph it before you call anyone. The photo documents the “before.”
- When a technician visits, photograph everything they touch. Before, during, after. If you’re calling us, this is automatic - our Gate Repair service in Spring includes a documented photo record on every visit. But if you’re working with anyone else, insist on it.
- Ignoring a new sound. Gates don’t develop noises for no reason. A new groan or rattle means a load has shifted somewhere. Every month you ignore it, the underlying problem gets more expensive to fix. If a gate sounds different after a storm, inspect it the same day.
- Using WD-40 on pivots. As covered above, WD-40 is a solvent, not a lubricant, and in Spring’s heat it leaves joints dry within days. Use white lithium grease for pivots and hinge pins.
- Over-tightening hinge bolts on aluminum posts. Aluminum has a lower yield strength than steel, and an over-tightened bolt will strip the threads or crack the post wall. Snug is the target; tight enough to stop movement, not tight enough to deform the metal.
- Re-shimming hinges on a leaning post. If the post is out of plumb, a shim is a bandage, not a fix. The post will keep moving, and the gate will keep binding. Measure plumb first; if the post is moving, fix the footing.
- Lubricating the photo-eye lenses. Any oil or grease film on the lens can scatter the infrared beam and cause false obstruction signals. Clean photo-eyes with a dry cloth only.
- Waiting until the gate fails to check the battery. Battery backup voltage gives you a 30-60 day warning window before a failure. Waiting until the power goes out and the gate won’t move is the most expensive way to discover a dead battery.
- Running the gate on a misaligned photo-eye for months. If your gate reverses mid-cycle or won’t close fully, don’t just retrain the travel limits. The underlying issue is usually a photo-eye misalignment or a moving post. Retraining the limits masks the problem until something breaks.
To measure voltage, you need a basic multimeter set to DC volts. Disconnect the charger (or turn off the breaker to the operator), touch the probes to the battery terminals, and read the number. Reconnect the charger when you’re done. If you’re not comfortable doing this, it’s a one-minute check during any service visit.
We also check the battery housing and terminal condition while we’re in there. In Spring’s humidity, corrosion builds on battery terminals faster than in drier climates, and a corroded terminal can mimic a dead battery. A wire brush and a terminal protector spray fix that problem; a new battery doesn’t.
Lubrication in High-Heat Climates: What Not to Use
Here’s the single most common maintenance mistake we see on Gates in Spring: lubricating the gate arm pivot with WD-40. It feels like the right thing to do. It stops the squeak immediately. And it’s actively damaging the joint in a climate like ours.
Here’s why. WD-40 is primarily a solvent and water displacer, not a lubricant. In high heat, it evaporates or breaks down within days, and what’s left behind is a thin residue that offers no real lubrication. The joint runs dry, and now you have two problems: metal-on-metal wear accelerating under 95°F-plus temperatures, and a pivot that squeaks louder than it did before because the solvent washed out whatever grease was originally there.
What to use instead:
Never lubricate the photo-eye lenses. The infrared beam can pick up a film of lubricant or dust and cause false obstruction readings. Clean photo-eye lenses with a dry cloth or a very mild glass cleaner on a cotton swab.
Frequency: lubricate hinge pins and arm pivots every six months in Spring. If your gate is on a corner lot or near a road, dust accumulates faster; check it every four months. And if you’re working on a FAAC, BFT, or Linear operator with specific pivot points on the arm, follow the same rule: white lithium grease, not spray-on penetrant.
The Photo-Documentation Habit That Saves You Money
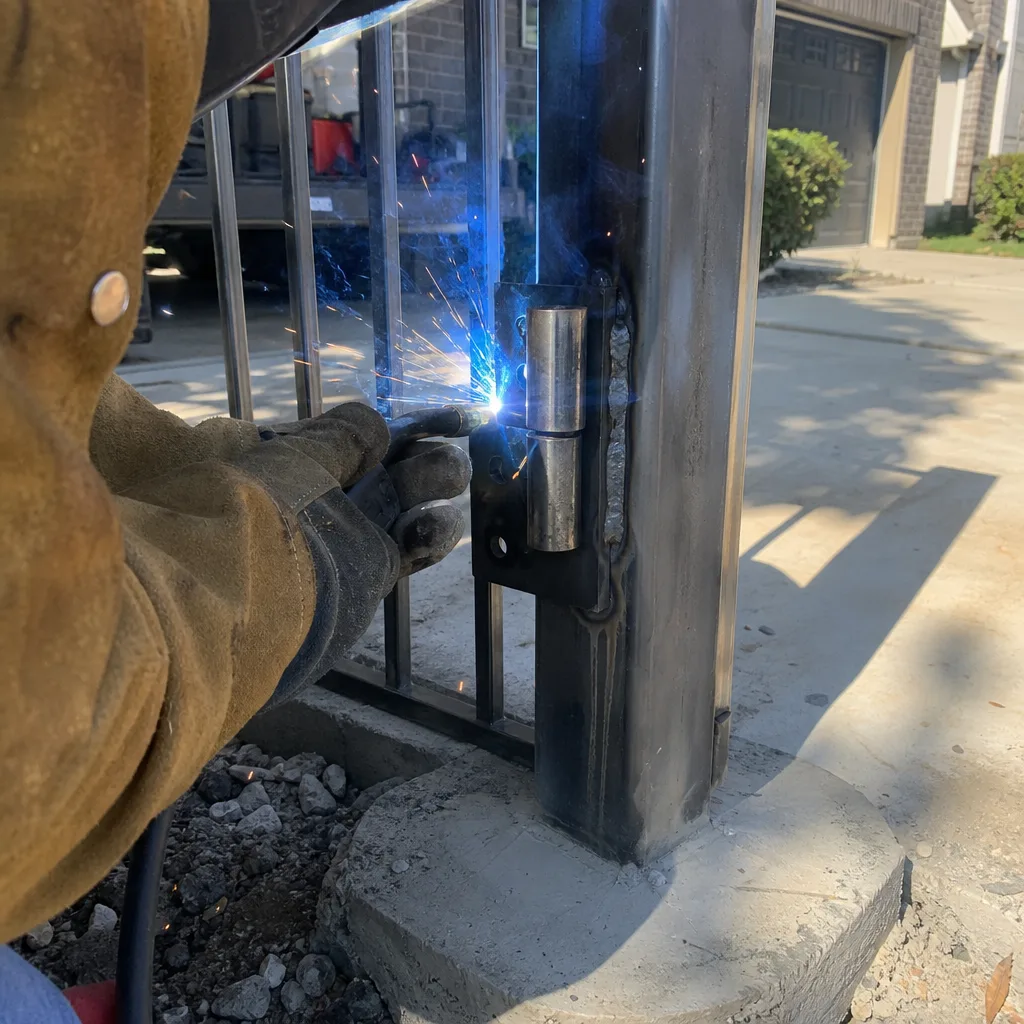
We believe every gate should have a paper trail, and that belief came out of commercial access-control work, not marketing. On a commercial site, you document everything: what you found, what you changed, what the readings were. It protects the contractor, but it also protects the property owner, because the next technician isn’t starting from zero.
Residential gates in Spring rarely get the same treatment. When a homeowner calls us to fix a gate that’s been worked on by two or three other companies over the years, we’re usually reconstructing history from memory: what the homeowner remembers, what the previous guy said, what the last invoice sort of describes. That’s expensive, because it means diagnostic time, and it’s avoidable, because a simple documentation habit solves it.
Here’s the documentation habit we recommend, and it takes five minutes per month:
The value of this record: when a technician looks at a gate and needs to know whether the tilt in the hinge bracket is new or has been there for three years, your photo log answers the question in thirty seconds. That’s diagnostic time saved, and diagnostic time is money. It also protects you if a repair doesn’t hold: the record shows what was done, what it looked like when the tech left, and what it looked like when it failed.
This is the same principle behind our documentation standard at Vance Gate Repair Spring: write down what you found, photograph what you changed, and leave the homeowner with a record. You don’t need a technician’s vocabulary to do this at home. You just need to point the phone at the same four spots every month.
Seasonal Timing: When to Run This Checklist in Spring
Twice a year is the right cadence for a full maintenance pass in Spring: once in early March, before the heat and storm season ramps up, and once in late October, after the worst of it is behind us. If you only do one, make it the March pass. Here’s why.
The March check catches the damage done by winter. Between December and February, your gate experienced the widest temperature swings of the year: nights in the 30s and 40s, afternoons in the 60s and 70s, with the occasional hard freeze that can crack footing concrete and snap brittle hinge welds. Run the full checklist in March, tighten what’s loose, lubricate what’s dry, and you enter the hot season with a gate that’s structurally sound.
The October check serves a different purpose. After six months of heat, humidity, and storm cycles, every joint on the gate has been through the equivalent of a multi-year service life in a milder climate. The October pass catches loose hardware before it becomes a winter problem, checks battery voltage before a cold snap, and documents storm damage before it gets worse.
Between these two passes, the monthly photo habit is your safety net. It’s not a full inspection; it’s a visual baseline. When something changes, you’ll see it in the comparison, and that’s the signal to run the full checklist again.
If you’re not sure where to start on the first pass, or if your gate hasn’t been serviced since you moved in, our Spring gate installation and maintenance team can run the full inspection and document everything. If you’re handling it yourself, this guide is the template.
Common Mistakes to Avoid
When to Call a Professional
Most of the inspection work in this guide is homeowner-friendly: looking, measuring, photographing. But there are clear lines where professional work starts. If your post measures more than 1/4 inch out of plumb over 4 feet, the footing needs professional attention; a leaning post under gate load is a safety risk. If a hinge weld is cracked or a hinge pin shows visible wear, that’s a repair that requires heat or replacement parts. If your battery voltage reads below 11.8V, you need a replacement, and if your gate motor is a FAAC, BFT, Linear, or Viking unit, you want a technician who works on that brand rather than a generic handyman who may push you toward a full replacement. Our gate motor and opener service in Spring covers all of these issues. Vance Gate Repair Spring offers free estimates in Spring - call (346) 488-1637.
Frequently Asked Questions
A basic gate maintenance visit in Spring typically runs between $125 and $250, depending on whether the technician needs to adjust the travel limits, replace a battery, or address rust and wear. More involved repairs, like a hinge replacement or a post re-set, push the total higher. The best way to get an accurate number is a written estimate before any work starts - call (346) 488-1637 for a free estimate.
Every six months is the right cadence for hinge pins and arm pivots in Spring’s heat. If your gate is near a road or on a corner lot where dust accumulates faster, check it every four months. Use white lithium grease for pivots and silicone lubricant for rollers.
High winds flex the gate and concentrate force at the hinge brackets. If the brackets or hinge pins were already worn, the storm finishes the job, and the gate starts to sag. Loose bolts on the upper hinge are the most common culprit we find. If the post itself is leaning, the storm exposed a footing problem that was already there.
Measure the voltage with a multimeter. A healthy 12V battery reads 12.6V or higher at rest. Between 11.8V and 12.1V, replacement is 30 to 60 days out. Below 11.8V, replace it now. If you’re not sure how to measure, our gate repair service in Spring includes battery testing on every maintenance visit.
In most cases, no. A leaking post means the footing has failed or was never deep enough, and the fix involves excavation and new concrete or a helical pier. Attempting to straighten the post without fixing the footing will fail within months. This is professional work, both for safety and for a lasting result.
Both is ideal: early March for a pre-season check, late October for a post-season check. If you only do one, make it March. That’s when you catch winter damage before the heat and storms of summer compound it.
The Bottom Line
Successful gate maintenance in Spring comes down to three habits: measure what matters, document what you see, and act before the small problem becomes a big one. Check hinge torque and post plumb twice a year. Measure your battery voltage before the power goes out, not after. Use the right lubricant for the heat. And keep a monthly photo record so any technician who works on your gate starts with a full history in hand. That record, in fact, is the reason we treat documentation as non-negotiable on every job we do in Spring. Browse more guides & resources for year-round gate care. If you ever want us to run this checklist for you, the estimate is free and the price is in writing before we touch the gate.
Written by Adrian Vance, Owner at Vance Gate Repair Spring, serving Spring since 2014.